
Nginx 是一款高性能的
Web和反向代理服务器,也是一个IMAP/POP3/SMTP代理服务器。它的开发者是俄罗斯工程师:Igor Sysoev。
这篇是针对 Linux 操作系统的安装。
在 linux 下安装 nginx 有两种方式:一种是源码编译,一种是yum安装。
一、通过源码编译方式的安装步骤
step1: wget下载nginx源码
1 | wget https://nginx.org/download/nginx-1.17.1.tar.gz |
step2: tar命令解压
1 | tar zxvf nginx-1.17.1.tar.gz |
step3: 安装gcc编译工具
1 | yum install gcc gcc-c++ |
step4: 安装其他库跟工具
1 | yum install pure pure-devel openssl openssl-devel zlib zlib-devel |
step5: 编译源码并安装
1 | cd nginx-1.17.1 |
step6: 启动niginx
1 | /usr/local/nginx/sbin/nginx |
Done!
但是,我觉得步骤实在太繁琐,个人不喜欢这种方式。
二、通过 yum 安装的步骤 (推荐)
这也是官方推荐的安装方式nginx官网文档
step1: 进入 yum repos 配置目录
1 | cd /etc/yum.repos.d |
step2: 配置 nginx.repo
从官网提供的稳定版和最新版的repo信息(如下)复制一下1
2
3
4
5
6
7
8
9
10
11
12
13
14
15[nginx-stable]
name=nginx stable repo
baseurl=http://nginx.org/packages/centos/$releasever/$basearch/
gpgcheck=1
enabled=1
gpgkey=https://nginx.org/keys/nginx_signing.key
module_hotfixes=true
[nginx-mainline]
name=nginx mainline repo
baseurl=http://nginx.org/packages/mainline/centos/$releasever/$basearch/
gpgcheck=1
enabled=0
gpgkey=https://nginx.org/keys/nginx_signing.key
module_hotfixes=true
然后在ssh终端配置 nginx.repo1
2vi nginx.repo # 新建 nginx.repo 文件,将官网提供的稳定版和最新版的repo信息粘贴进去
:wq # 保存并退出 vi
step3: 安装
1 | yum install nginx -y |
step4: 启动nginx
1 | nginx |
Done!
在浏览器输入服务器公网ip,回车,即可看到 nginx 欢迎文字,nginx安装启动成功!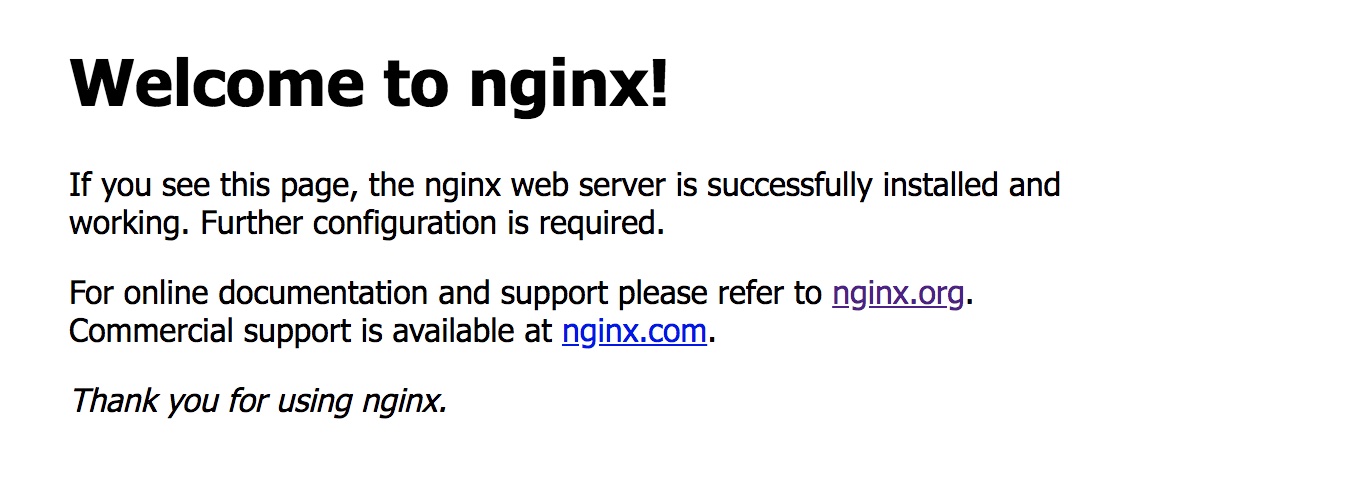
三、其他命令
查看ngix安装路径
1 | whereis nginx |
测试nginx
1 | nginx -t |
修改nginx.conf配置后,重载nginx
1 | nginx -s reload |
文章同时发表于公众号「前端手札」,喜欢的话可以关注一下哦。